Transform Your Space: Discover the Magic of Wall Washing Recessed Lights!
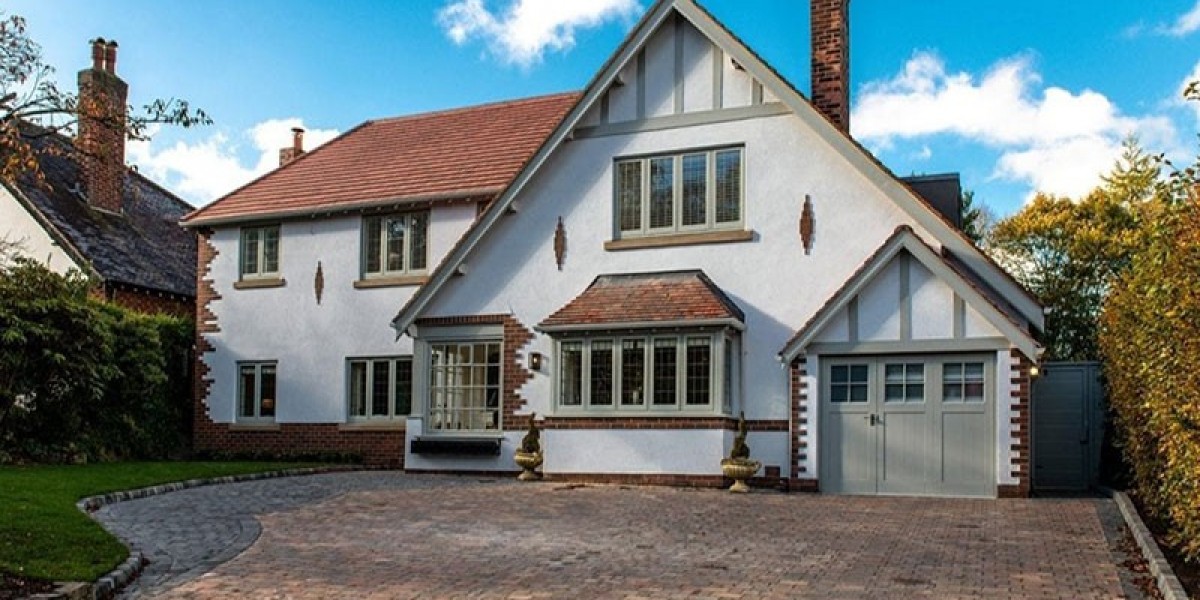
In the world of modern interior design, lighting plays a pivotal role in creating an inviting atmosphere and accentuating architectural features. One innovative solution that has gained popularity is wall washing recessed lights. These lights are not just functional but also serve as a design element that can transform the mood of a room. By directing light evenly across a wall, they enhance the visual appeal of spaces, making them feel larger and more dynamic. Whether you’re looking to illuminate artwork, highlight textures, or simply create a warm ambiance, wall washing recessed lights offer a versatile and stylish lighting solution that can elevate any environment.

Understanding Wall Washing Recessed Lights
Wall washing recessed lights are designed specifically to cast a broad, even wash of light over a wall or surface, differentiating them from standard recessed lights that typically focus light in a narrow beam. The mechanics of wall washing involve strategically positioning the lights at a certain angle and distance from the wall to ensure the light spreads evenly, eliminating harsh shadows. This technique not only enhances the visual texture of the wall but also creates a sense of depth and dimension within the room. For instance, by using wall washing recessed lights, you can draw attention to architectural details or create a backdrop that makes your artwork pop, adding a layer of sophistication to your space.
Benefits of Wall Washing Recessed Lights
There are numerous advantages to incorporating wall washing recessed lights into your home. One of the standout benefits is their ability to create a warm and inviting atmosphere. Unlike traditional lighting that can sometimes feel stark and unwelcoming, wall washing lights provide a gentle illumination that envelops a room in comfort. Additionally, they are excellent for highlighting artwork or decorative features. A friend of mine recently installed wall washing lights in her living room to showcase her collection of paintings, and the transformation was remarkable. The lights not only enhanced the colors and details of each piece but also made the room feel more spacious and airy. Furthermore, wall washing recessed lights can visually expand smaller rooms by drawing the eye upward and making the space feel taller and more open.
Installation Methods for Wall Washing Recessed Lights
Installing wall washing recessed lights can be a rewarding DIY project if approached with the right tools and safety measures. Here’s a step-by-step guide to help you through the process:
- Gather Your Tools: You will need a drill, a stud finder, wire strippers, electrical tape, a voltage tester, and the recessed lights themselves.
- Choose Your Placement: Determine the best locations for your lights. Ideally, they should be mounted 6-12 inches from the wall and spaced evenly apart to create a seamless wash of light.
- Cut the Holes: Use your stud finder to locate studs and avoid them. Then, use the drill to cut holes in the ceiling where you plan to install the lights.
- Wiring: Turn off the power at the circuit breaker. Connect the wiring from the light to the existing electrical system, ensuring all connections are secure and insulated with electrical tape.
- Install the Lights: Insert the recessed lights into the holes you’ve cut and secure them according to manufacturer instructions.
- Test the Lights: Once everything is in place, turn the power back on and test your lights to ensure they are functioning correctly.
When it comes to placement and spacing, consider the height of your ceiling and the size of the room. A common rule of thumb is to space the lights about 4-6 feet apart for optimal wall coverage, but this can vary based on your specific lighting needs and preferences.
Common Mistakes to Avoid
While installing wall washing recessed lights can be straightforward, there are common pitfalls to watch out for. One frequent mistake is improper spacing, which can lead to uneven lighting and shadows. Additionally, failing to account for ceiling height can result in lights that are either too bright or too dim. It's also crucial to ensure that your wiring is done safely to prevent electrical hazards. Planning ahead and following installation best practices will help you achieve the best results.
Elevate Your Space with Wall Washing Recessed Lights
Wall washing recessed lights are a transformative lighting solution that can redefine your space's ambiance and visual appeal. With their ability to create warmth, highlight details, and enhance the overall atmosphere of any room, they are a worthwhile consideration for your next home improvement project. Whether you’re refreshing your living room, illuminating a gallery wall, or simply looking to add depth to your interiors, these lights offer both functionality and style. So, embrace the magic of wall washing recessed lights and watch as they elevate your space to new heights!